Cultivation Materials You'll Need and Getting Started
Important things to know before you start growing sundews:
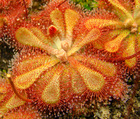
- Sundews cannot be grown in normal potting soil! The higher nitrogen content of potting soil will quickly kill your sundews. Peat moss or long-fibered sphagnum should be used instead (described immediately below).
- Sundews should not be fertilized (or only VERY weakly)
- Sundews do best when given plenty of light. I usually recommend using supplemental lighting, but this is not always necessary.
Materials Commonly Used to Grow Sundews
You can pick whatever you prefer to use. These are my recommendations, and not all of the following is required:
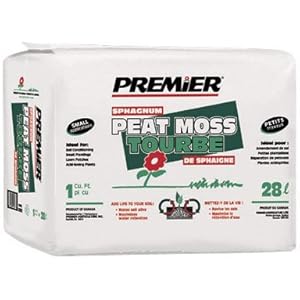
Peat moss- (also called milled sphagnum peat moss)-can be found at Lowe's, Home Depot, or local garden centers. It is black and powdery when dry.
Rinse your Peat Moss- Some brands of peat are lower quality than others. I've used Premier peat moss, which tends to develop algae and mold. Because of this, make sure you rinse your peat before using it to avoid these problems.
Try not to inhale peat dust- repeated exposure can cause some people to develop sporotrichosis from fungals spores found in peat. Avoid handling peat if you have cuts on your hands, due to the same reasons as above (wear gloves).
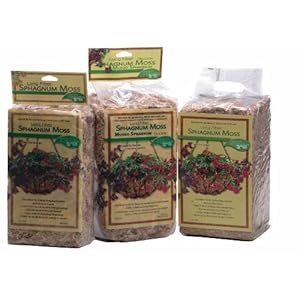
Long-Fibered Sphagnum Moss- (also known as LFS or LFSM online).
Many sundews can be grown in pure long-fibered sphagnum moss, depending on your climate and growing area, and is a great substitute for peat.
LFS can be found at Lowes or other garden centers.
I use Better Grow Orchid moss. Another common brand is Mosser Lee.
It is much faster and cleaner to plant or repot sundews with LFS than with a peat:sand mix, and LFS is usually quite clean compared to peat. I still rinse my LFS several times with hot water to reduce algae and mold for lower quality brands.
Silica sand- can be found at pool supply stores (pool filter sand), or at Home Depot (sandblasting sand). I prefer pool filter sand, since it is normally comes pre-washed. A larger grade is recommended- around #20 (about .50 mm).
Silica sand has worked best for me, since it is generally purer than play sand and it is great for loosening up the soil of your sundew pots, and allowing the soil to drain well. Make sure to rinse your sand to avoid salt and mineral buildup (even if it comes pre-rinsed).
Do not inhale silica dust when handling the sand. It can cause a lung condition known as silicosis from repeated exposure (but is usually ok in small doses).
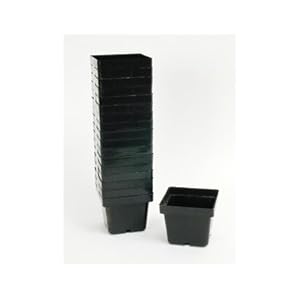
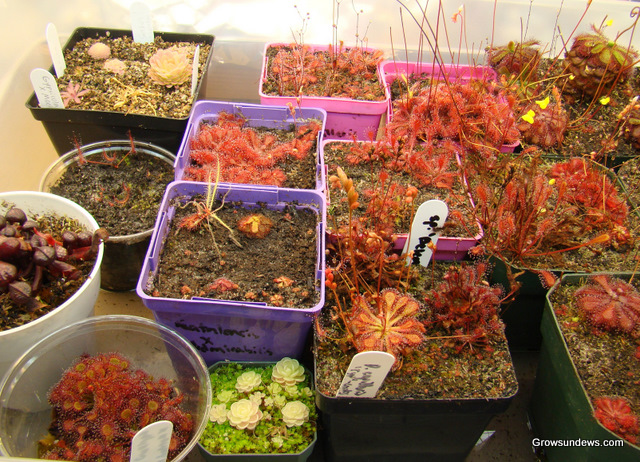
Pots- use plastic or glazed pots. Species that have long roots should be given 4+-inch pots for best results. 6 is a safe bet for most adult South African sundews. 3-inch plastic cups also work very well for most of the easier sundew species. Frugal growers sometimes use yogurt cups or other old containers.
Clay pots can be used, but may eventually release minerals that can kill your plants over time. But if you want to use clay pots, occasionally top-water your carnivorous plants as much as possible, which will flush out the minerals that build up at the surface of the soi. If you grow them outdoors, the rain will take care of this for you.
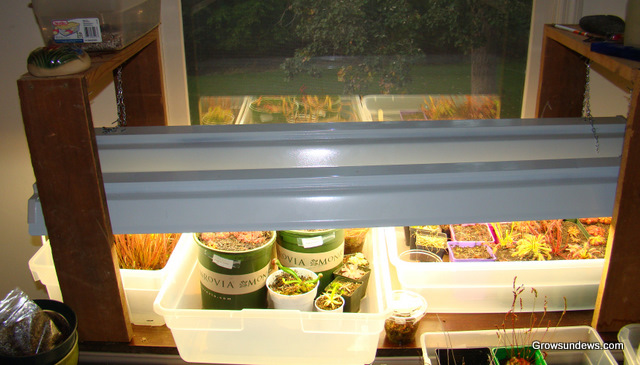
Grow Lights- fluorescent lights are strongly reccomended for sundews unless you have an extremely bright windowsill or if you are able to grow them outdoors. I use several 4-foot T-8 and T-12 fixtures. Bulbs labeled as "plant and aquarium" are not necessary. Normal fluorescent bulbs work just as well. I use a mixture of cool and warm bulbs to cover the entire light spectrum.
Other options- compact fluorescent bulbs work well if you only have a few sundews. More expensive T-5, halogen lights, or other specialty lights may also be used. See my page about lighting for more info.
How close to put sundews under the lights- Gererally speaking, put them as close to the bulbs as possible without burning the leaves (this is usually ~2 inches away for T-8 or T-12 bulbs and further (6-8 inches) for T-5 bulbs. The recommended range can vary depending on the time of year (further away during the hot summer months and can be very close during winter).
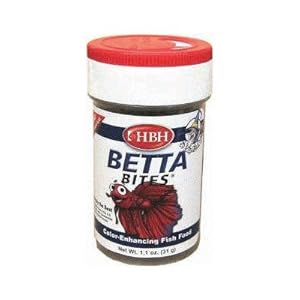
Food for your Sundews- if you want your sundew seeds or plants to grow as fast as possible, you will want to feed them often. You can use Beta Bites (fish food pellets), freeze-dried bloodworms, or live insects, such as wingless or flightless fruit flies. See my sundew feeding page for more detailed information.


Reverse Osmosis water (RO), tap, or rainwater-
The decision is up to you! I only use distilled or reverse osmosis purified water in the trays of my most important sundews (see below).
Tap water works fine too, but use at your own risk. I have used tap water for several years on a few of my plants without any problems (TDS of my water is 200 ppm or parts-per-million). I have never had a problem so far as long as I top-water them. Since the tap water in some cities has a much higher level of TDS (total dissolved solids), this can cause a fast mineral-buildup when using the tray method, which can kill your sundews over time. Try top-watering as much as possible if even if you use distilled water, RO, or rainwater.
Rainwater is a cheaper alternative to RO, but can often be dirtier than RO water. If you grow your plants outdoors, this is often the best option. You can collect the water that runs off from your gutters, which is usually safe to use. Insects like mosquitoes love to reproduce in rain barrels, so mosquito dunks can be used, which are safe for carnivorous plants. Since I grow my plants indoors all in a massive tray, I prefer to use water that is extra pure.
Use RO water If you prefer to be safe:You can find reverse osmosis water at the grocery store or Wal-Mart. Reverse osomosis systems can be quite expensive. I get Culligan RO water from the grocery store, and also use a lot of used gallon milk jugs. I fill the jugs up 2-3 times a year and pay about $10-15 each time. Distilled water also works well, but is usually more expensive.
Other Optional Materials:
Perlite- this light, white substrate is used for water retention and making the soil mixture open, allowing the roots to easily travel through the media. This can be mixed in with LFS or a peat-sand mix. It can also be used in a 1 peat: 1 perlite mixture, but I don't recommend this, as algae develops very easily.
APS- Some sundew growers use Aquatic Plant Soil (Schulz brand or others), which you can find at Lowe's. APS consists of small chunks of ceramic tiles, which absorb moisture well, and act similar to perlite. Many Pinguicula growers now grow their plants in pure APS and it works well.
Coco Peat (a.k.a. coir or coco fiber)- this is a substitute for peat made from the husks of coconut shells. It works the same as peat BUT has a very high salt content. Therefore, you should let the coco peat soak for several days in many rinses of water to flush out most of the salts before use.
Insecticide/Fungicide
Insects often cause problems for new growers. I had this problem because the setup I previously used was too stagnant, leading to a fungus gnat fiesta. In order to kill off the larvae and adults, I used Neem oil. It is a natural oil extracted from the Neem tree. For more information about Neem oil, click here.
There are many other types of insecticides that are safe for carnivorous plants, which are described in the linked video. I've never had any issues with Neem oil, however, so I would highly recommend it, since it's hard to overdose with it. Use in a well-ventilated area (outdoors preferably).
***Remember that rinsing your media first and using a well-drained soil mix will dramatically help reduce fungus and insect outbreaks from occuring in the first place.
The Best Sundews for Beginners
Many commonly available sundews are great for beginners, but some are notably easier than others. In my experience (growing mostly indoors), there are a few sundews that can tolerate lower light and are very adaptable for many growers:
Drosera natalensis (a.k.a D. dielsiana)
Drosera capensis (most forms)
Drosera binata
Drosera tokaiensis
Drosera spatulata
Drosera adelae (can be pickier for some growers)
These can be purchased online, or at Lowes and Home Depot, when available.
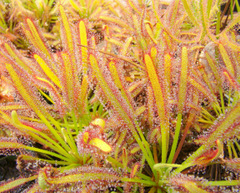
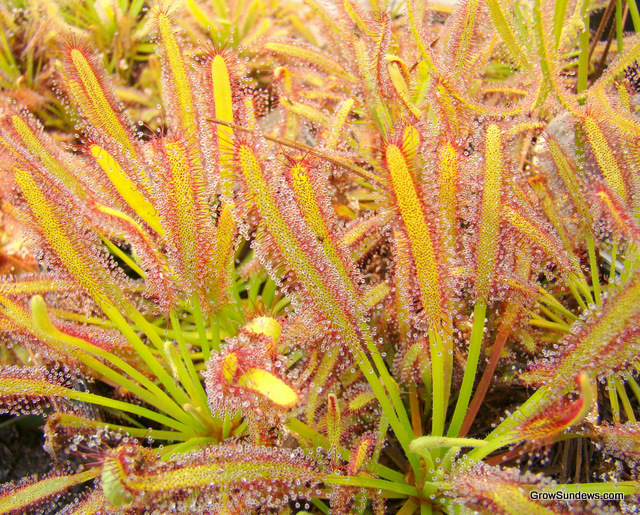
Above: Drosera natalensis (left), Drosera capensis (middle), and Drosera spatulata (right)
What Soil Mix To Use for Sundews:
The Recommended Mixes
A 1:1 mix of peat moss to silica sand seems to work extremely well for most sundews. However, pure LFS or a rough mix of 5:1 long-fibered sphagnum to silica sand has worked equally well for many sundews I've grown. Refer to individual recommendations on the pages I've written for each species.
Try what works best in YOUR conditions
What works well for me or other growers will often not produce the same results for other growers.
***The best way to find out what will work best for you is through experimentation. Try growing the same species of Drosera in pots of the same height, but using different soil mixes.
For example, if you have plenty of air circulation, perlite may be an excellent choice for you. In other conditions, it will cause tons of algae growth.
How Compact should the Soil Be?
This can vary a bit depending on your preferences. Most growers suggest packing down the soil most at the bottom 1/4 to 1/2 of the pot, and then using a looser mix towards the top. This will allow moisture to reach the surface of the pot more consistently for all of your sundews.
Since I have been away at college for the past 3 years, I've packed down the soil throughout the entire pot with all of my sundews so that the plant will not immediately dry out if my parents forget to water them.
Note that the more compact the soil is, the less oxygen is able to reach the roots. In my case, this has meant that the roots are much thinner than they would normally be.
BEFORE PLANTING-
It is always recommended to flush the soil and any material (such as sand) you're planning to use with several rinses of tap water and a few smaller final rinses with distilled water. Peat moss, silica sand, LFS, and perlite all have minerals and particles that can potentially end up hurting the plants if you don't get rid of them.
Keeping Your Sundews wet using the Tray Method
One of the easiest methods for keeping the soil of your sundews wet (indoors our outdoors) is by using tray method. This is where you take the pot that your carnivorous plant is in, and place it over a tray that you have filled with water. Once the tray dries out in a few days, you refill the tray again. etc. etc. You can also top-water your plants, but this can become time-consuming if you have a large collection. Click here to be redirected my tray method page.
If you use the tray method, try to top-water your plant at least once every few months (if possible) to ensure that salt and minerals will not build up towards the surface of the media and kill your plants. If you use very pure water (O ppm) then you shouldn't have to worry about this. I've actually gone for 2 years without top-watering my plants.
Terrariums are also another easy option for growing sundews indoors, but I have not experimented very much with this. Check out my friend's youtube channel that shows his terrarium setups.
Testing out your Growing Area
Indoors
I usually suggest starting off with adult plants when first growing sundews. You can quickly tell if your growing area works well for sundews. The tentacles on the sundew should turn red and plenty of dew should be produced on the tentacles within just a few weeks (assuming you received a healthy plant).
If you experience problems, then you should modify the setup you're using.
Most of the time, sundew seeds are overpriced, so you may end up paying more for them than adult plants! If your setup is not appropriate for sundews, you may not be able to tell for several months- the seeds may not germinate if they're too old.
If you can find cheap or free seeds online, by all means, give it a shot! Growing sundews from seed can be a rewarding experience.
Outdoors
Be very careful when transferring new sundews outdoors. Sometimes, they have been grown in low-light, humid conditions. Transferring them into full sun can fry them within just one day. I recommend gradually starting the plant off in filtered sun and moving it to part sun. After a few weeks, if the sundew is growing well, it can be transferred into more sun or left in part sun.
I've never tried growing sundews from seeds outdoors before, so I can't comment on this. I'd place them in part sun and avoid heavy rainfall if growing them in small pots (especially if you only have a few seeds).
For more info, you can check out my "Growing sundews outdoors" page
Hopefully this can get you started...: )
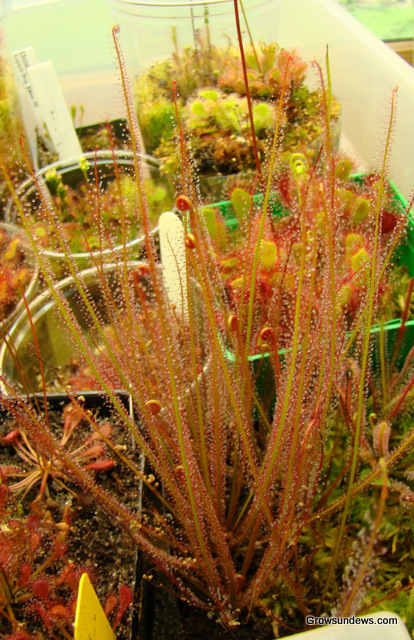
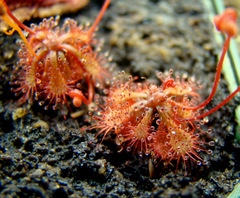
Above: Drosera capensis (left) and Drosera filiformis "Florida All-Red" (right)
Image Credits
Silica Sand- http://tanks4thememories.blogspot.com/
Amazon.com- Peat moss, coir, perlite pots, and LFS
Additional Questions or Suggestions?
Contact me at: sundewman(at)yahoo.com